Understanding Time Format And Operation On Time In Excel 2010

Amongst the various format that number takes, time is the one of the most commonly used formats, after currency and accounting number formats. We need to record time for various purposes – for instance to mark the in and out timing of staff, for arrival or dispatch of goods, to record time lapse between two events and so on.
In today’s post we will learn how to enter time correctly, how to make it take various time formats and how to perform basic operation of adding and subtracting time.
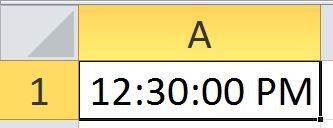
Let’s start with the very basic things – how time is recorded in Excel.
Formatting number as time in Excel:
We can format number as time by pointing to Tab Home > Number and selecting Time to format number as time, the result is this:
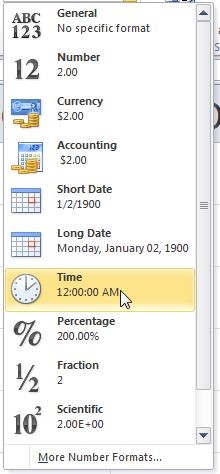
If you select the custom number format you will find number formatted as following:
[$-F400]h:mm:ss AM/PM
In this format h represents hours, mm represents minutes and ss seconds and AM/PM have usual meanings.
Formatting number to show 24-hour format:
Right clicking and selecting the second option in the Number format dialogue will set number to 24 hour format:

The under laying format is:
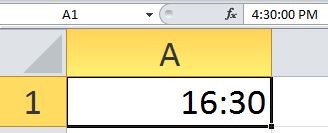
h:mm;@
Thus if we enter 4.30 pm in a cell, it will appear as:
More Time Format:
We can still show seconds for the last 24 hours format by adding ss to it. The new format will be: h:mm:ss;@
Adding numbers formatted as TIME:
Let’s say we want to add to time durations – we want to 04:30:00 to 02:25:00 how should we proceed:
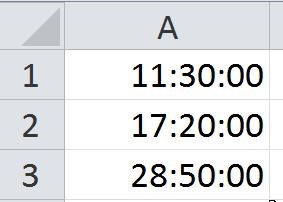
We simply added the two number using the formula A3=A1+A2, the result initially was shown as 24 hour a day format – we added square brackets around the hours section of the number to make it go beyond 24 hours.

Substracting numbers formatted as TIME:
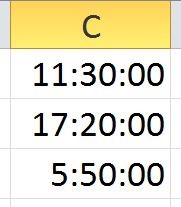
You can subtract as we subtract usual numbers, but since time cannot assume negative values, subtracting larger value from a smaller will return an error. In order to check for this you can add an �IF�() construction. If we do it manually for the already presented example the result comes out to be:
Using �TEXT�() function to format Time:
All of the formats described in the above post can be accessed and applied using �TEXT�() function. The �TEXT�() function has following syntax:
�TEXT�(value, format_text)
In order to format time, the formats already mentioned in this post ([$-F400]h:mm:ss AM/PM, h:mm:ss;@, ….) need to be placed in the second argument of the formula to get the result. This is ideal if you don’t want to use Number Format option from menus.

This is all about number formatting, we will return with some other interesting stuff in next post. Please download the excel file to see how number format works. Thanks.


 Function To Repeat Values Certain Number Of Time.png)


